sam@mkd-led.com
8613794642383


Installing a pendant light is a practical upgrade that can instantly improve both lighting quality and interior aesthetics. Whether used over a kitchen island, dining table, or entryway, Pendant Lights provide focused illumination while acting as a visual centerpiece. With proper preparation and attention to safety, most standard pendant lights can be installed by following a clear, methodical process.
A pendant light is typically suspended from the ceiling by a cord, chain, or rigid rod and connects to an existing electrical junction box. Most residential ceilings are pre-wired to support light fixtures, but confirming the box type, load capacity, and wiring condition is essential before starting. Pendant lights are usually lighter than ceiling fans but still require secure mounting to ensure long-term safety.
Before installation, always turn off power at the circuit breaker and confirm with a voltage tester that no current is present at the wires.
Having all tools ready before starting helps avoid interruptions during installation.
| Category | Items Required |
|---|---|
| Electrical | Voltage tester, wire connectors |
| Tools | Screwdriver, wire stripper, ladder |
| Hardware | Mounting bracket, screws, canopy |
| Safety | Insulated gloves, safety glasses |
Most pendant light kits include mounting hardware, but always check the packaging to confirm compatibility with your ceiling box.
Begin by removing the existing light fixture if one is already installed. Support the fixture while disconnecting the wires to prevent strain on the ceiling box. Once removed, inspect the junction box for stability and secure it if necessary.
Next, attach the mounting bracket provided with the pendant light to the junction box. The bracket serves as the structural base that holds the fixture weight. Ensure all screws are tightened firmly.
Adjust the pendant cord or rod to the desired hanging height before wiring. Many modern pendant lights allow height adjustment by trimming the cable or repositioning the chain. This step is easier to complete before electrical connections are made.
Connect the wires by matching colors: the live wire to live, neutral to neutral, and ground wire to the grounding screw or wire. Secure each connection with wire connectors and gently tuck the wires into the junction box.
Finally, attach the canopy to the mounting bracket and install the pendant shade or diffuser according to the manufacturer’s instructions. Restore power at the breaker and test the light.
Proper height plays a key role in both lighting effectiveness and visual balance. For pendant lights installed above tables or islands, the bottom of the fixture is typically positioned 30 to 36 inches above the surface. In open spaces or entryways, pendants should maintain sufficient clearance to avoid obstructing movement.
Spacing is equally important when installing multiple pendants. Consistent alignment and equal distance between fixtures help maintain a clean and professional appearance.
Pendant light installation issues often result from small oversights. Loose mounting brackets can cause long-term safety risks, while incorrect wire connections may lead to flickering or failure. Skipping grounding can compromise electrical safety, especially in metal fixtures.
Another common issue is improper height adjustment. Pendants hung too low may obstruct views or movement, while those installed too high can reduce focused lighting effectiveness.
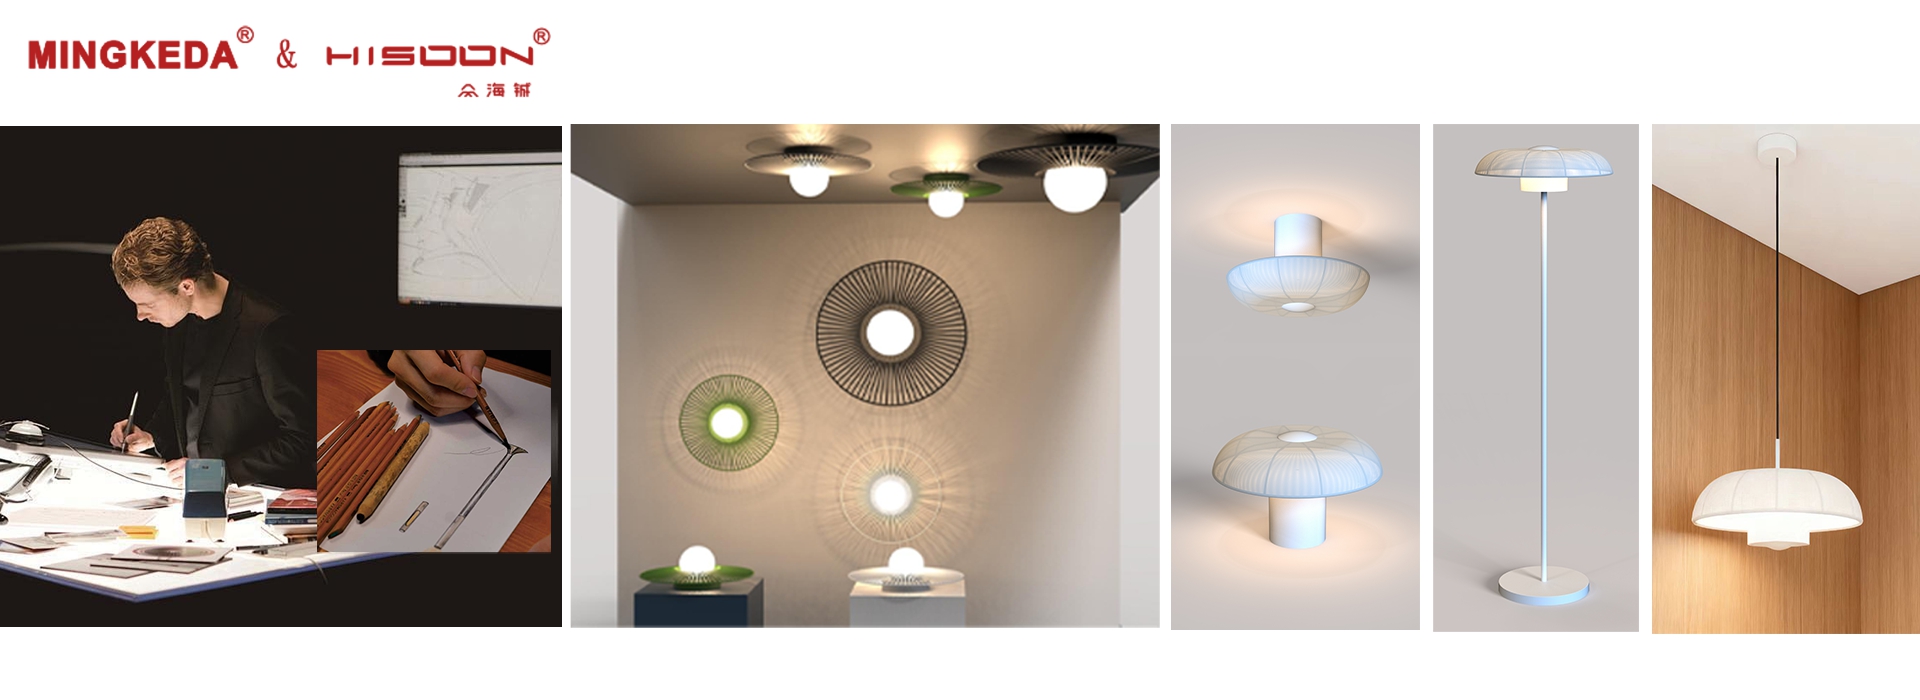
High-quality pendant lights simplify installation and ensure stable performance over time. Reliable manufacturers focus on precise wiring, durable materials, and standardized mounting systems that integrate smoothly with common ceiling boxes.
For projects that require dependable led pendant lighting solutions with modern designs and consistent quality, MINGKEDA provides a wide range of lighting products suitable for residential and commercial spaces. Their focus on LED technology supports energy efficiency while maintaining clean visual design.
After the pendant light is installed and powered on, observe it for several minutes. Confirm there is no flickering, unusual noise, or overheating. Check that the fixture remains stable and the canopy sits flush against the ceiling.
Routine inspections over time help maintain safety and appearance, especially in high-use areas such as kitchens or dining spaces.
A properly installed pendant light not only enhances illumination but also elevates the overall character of the space when executed with care and precision.
Previous: How to Read Lamp Shade Dimensions?